How to Lay Timber Floors
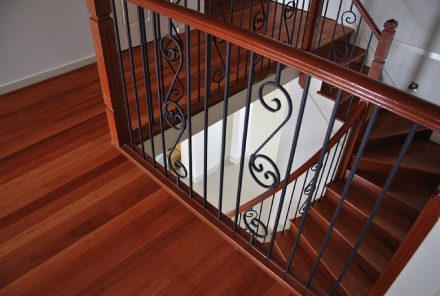
Regardless of your style, timber floors are the most compatible floorings due to their unique colors and texturing. In addition to that, timber floors can be cleaned very easily and in cases where the scratches are deep, its only important to consider sanding your timber floor because that is the surest way of being sure about the structure of your house.
Cost of Timber Materials
Materials for wooden floors have different prices that are based on per square feet. In fact, those who opt to lay the wooden floor for them are normally charged per square feet. Cost is influenced by the size of your home because every square feet will be occupied by the wooden pieces.
There are many shops in this field and so you should compare the different prices that are offered by each dealer. Some will give you a price cut depending on the number of pieces that you are willing to purchase.
Proper Timing
Even if you are an aggressive person, you can be sure that its not possible to lay timber floors in the evening after a hard day’s work. This is because the task itself is very demanding and therefore requires you to have ample time. There is nothing like going for quick timber floor installations.
Weekends are the best days for doing such installations because you will have two days to work on your domestic tasks including buying timber materials. Laying of the floor should take place after the household items have been laid.
Pull Out Skirting Boards
The existing skirting boards should be pulled out because they will interfere with the laying of the new flooring. A crow bar is the most ideal tool for doing this job. But caution should be exercised because its very easy to damage the walls when uninstalling the skirting boards. It is therefore advisable to place a wooden block behind the crowbar to protect the walls from being scratched.
Install Humidity Barrier
A humidity barrier should be installed on the floor before fitting the timber floor. This is regardless of the kind of primary floor because without this material, water is likely to be absorbed by the timber panels and hence cause the floor to either cup or warp. The waterproof material should be tightly fitted onto the floor. Since it’s impossible to have the water proof layer in one length. The edges of the material should be tightly joined together using an adhesive tape. A craft knife can be used to trim the long edges so they fit on the floor.
Use Spacers
Spacers should be arranged along the lengthy walls to help you in leaving the allowance for expansion. It is normal for timber floors to expand in response to changes in humidity. Plastic is the ideal material for this spacing and they should be pulled out once the new floor has been installed.
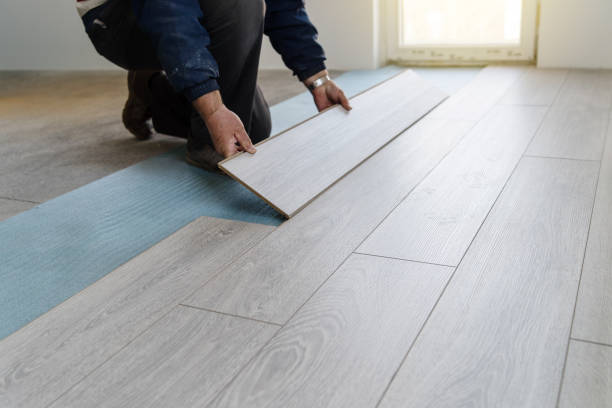
Installing the Rows
Refer to the packaging that was used to wrap the wood panels to get the recommended method of installation. Most manufacturers prefer either nailing or gluing the panels on the floor. However, you should ensure that the grooves face towards the walls and the tongue-like edges face the inside. This makes it easier for you to understand the installation pattern.
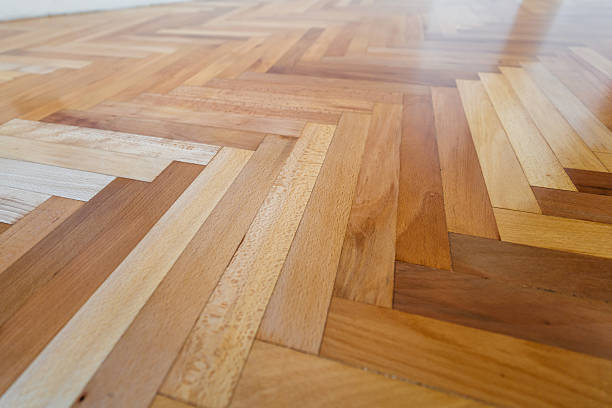
Finishing Up
Make sure the edges of the panels are well staggered and they are not in a straight line. The first panel in each row should touch the plastic spacer. When you reach the end of the row, use a plastic hammer to push the panels firmly against the spacers. When you come across any pipes, simply make a spherical trim on the panels and glue the cutting on top of the pipe. Lastly, install the last row and pull out the spacers and then reinstall the skirting boards

Leave A Comment
You must be logged in to post a comment.
Click here to log in